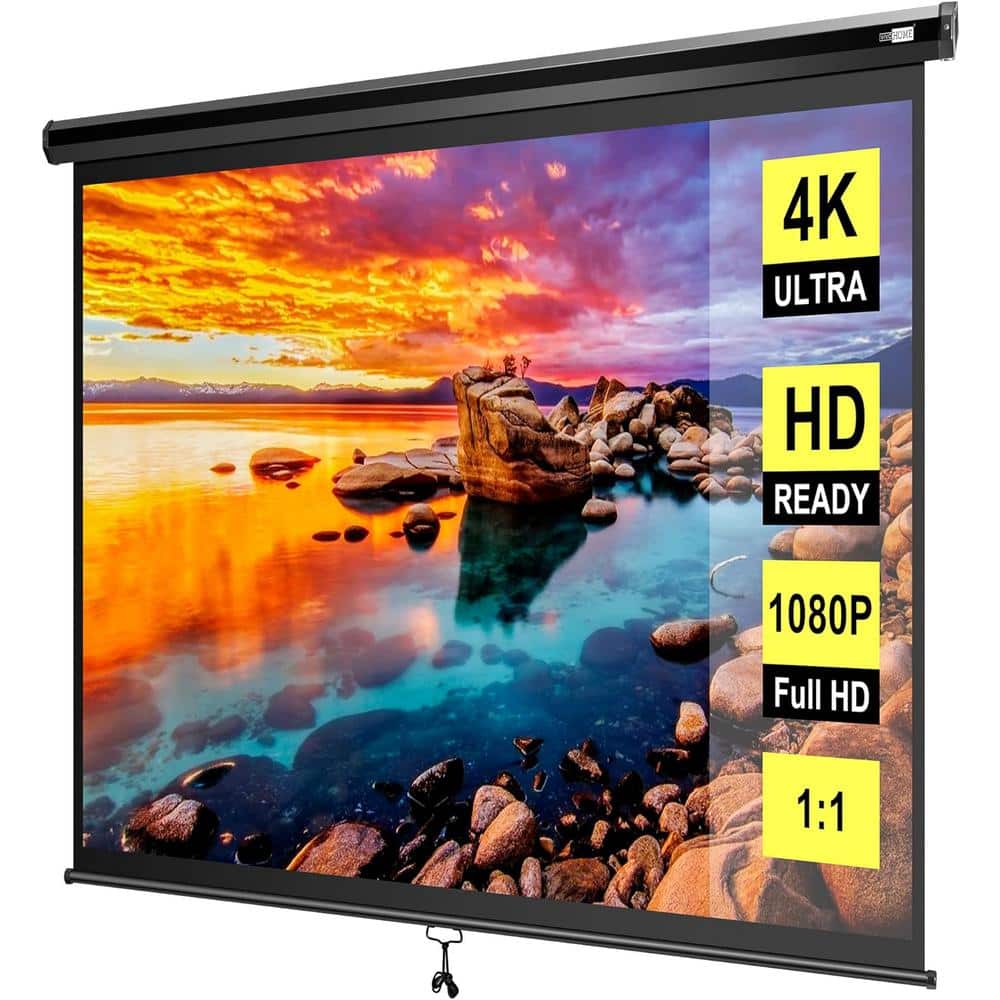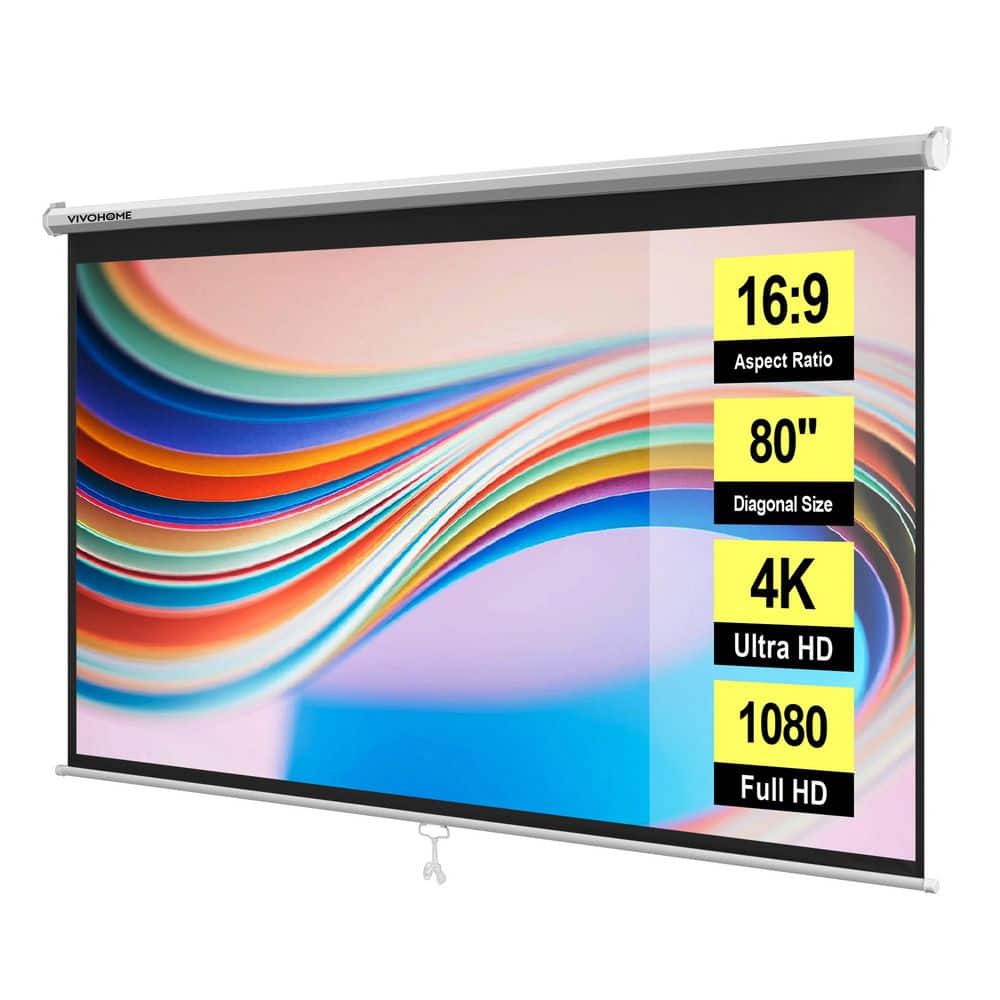
80" Manual Pull-Down 16:9 HD Projector Screen
How to Install the 80 in. Manual Pull-Down Retractable Projector Screen 16:9 HD
80" Manual Pull-Down 16:9 HD Projector Screen
119.99Transform your living room into a private home theater with this retractable HD projector screen, featuring an auto-locking system for…
Transform your living room into a private home theater with the VIVOHOME 80 in. Manual Pull-Down Retractable Projector Screen. Designed for easy setup and a stunning 16:9 HD viewing experience, this screen is perfect for movie nights, gaming, or presentations. Follow this step-by-step guide to install your screen quickly and securely.
What’s in the Box
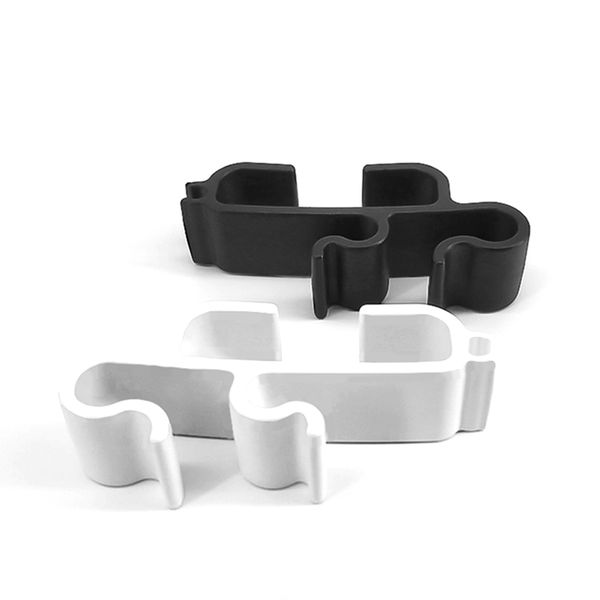
Before you begin, ensure you have all the components:
- Projector screen unit (80-inch, 16:9 HD)
- Two mounting brackets
- Screws and wall anchors
- Installation template (if included)
- User manual
Tools You Will Need
- Drill with appropriate drill bits
- Screwdriver (Phillips head)
- Measuring tape
- Level
- Pencil for marking
- Stud finder (recommended for heavy-duty mounting)
Step 1: Choose the Installation Location
- Select a flat ceiling or wall surface near a power outlet (if needed for future upgrades).
- Ensure the screen will be centered relative to your seating area and projector.
- Measure the distance from the floor to ensure the screen hangs at a comfortable viewing height (typically 24–36 inches above the floor for the bottom edge).
Step 2: Mark the Mounting Points
- Use the measuring tape to find the center of the screen unit. Mark the center point on the ceiling or wall.
- Refer to the installation template or measure the distance between the two mounting brackets (usually 20–30 inches apart).
- Use a level to ensure the marks are horizontally aligned. Pencil the screw hole locations.
Step 3: Drill Pilot Holes
- If mounting into drywall, use a stud finder to locate ceiling joists or wall studs for maximum support.
- Drill pilot holes at the marked locations. For drywall without studs, insert wall anchors before screwing.
- For concrete or brick ceilings, use masonry drill bits and appropriate anchors.
Step 4: Attach the Mounting Brackets
- Secure the mounting brackets to the ceiling or wall using the provided screws and anchors.
- Tighten screws firmly but avoid over-tightening to prevent damage.
- Double-check that brackets are level and aligned with each other.
Step 5: Mount the Projector Screen
- With assistance (recommended for safety), lift the screen unit and align its slots with the mounting brackets.
- Slide the screen onto the brackets until it clicks or locks into place (refer to your model’s locking mechanism).
- Ensure the screen is securely attached and does not wobble.
Step 6: Test the Pull-Down Mechanism
- Gently pull the handle downward to extend the screen. The auto-lock mechanism should engage at your desired height.
- To retract, pull the screen slightly downward, then release it slowly to roll back up.
- If the screen does not lock or retract smoothly, check for obstructions or bracket misalignment.
Step 7: Adjust and Enjoy
- Position your projector to fill the 16:9 HD screen area.
- Adjust the screen height if needed by repositioning the brackets slightly.
- Now you’re ready to enjoy movies, games, or presentations in your home theater!
Tips for Best Results
- Always mount into studs or use heavy-duty anchors for safety, especially on ceilings.
- Keep the screen clean by wiping with a soft, dry cloth.
- Store the screen retracted when not in use to protect the surface.
With the VIVOHOME 80 in. Manual Pull-Down Retractable Projector Screen, installation is straightforward, and the result is a cinematic experience right at home. For just $119.99, you can upgrade your entertainment setup in minutes!
nn

Last updated: June 3, 2026